
Ski & Snowboard Wall Mount Installation Guide

Follow our simple step-by-step guide to securely install your ski or snowboard wall mounts and display your gear at home.

What's in the box?

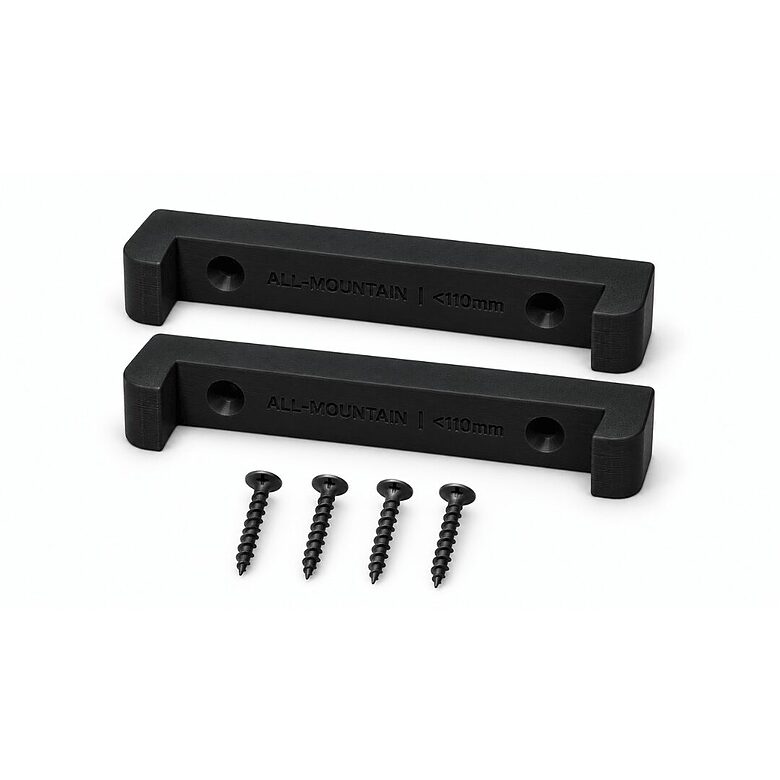
Everything you need to mount your skis or snowboard securely on the wall. Each set includes two 3D-printed wall mounts and four mounting screws.

What you will need?

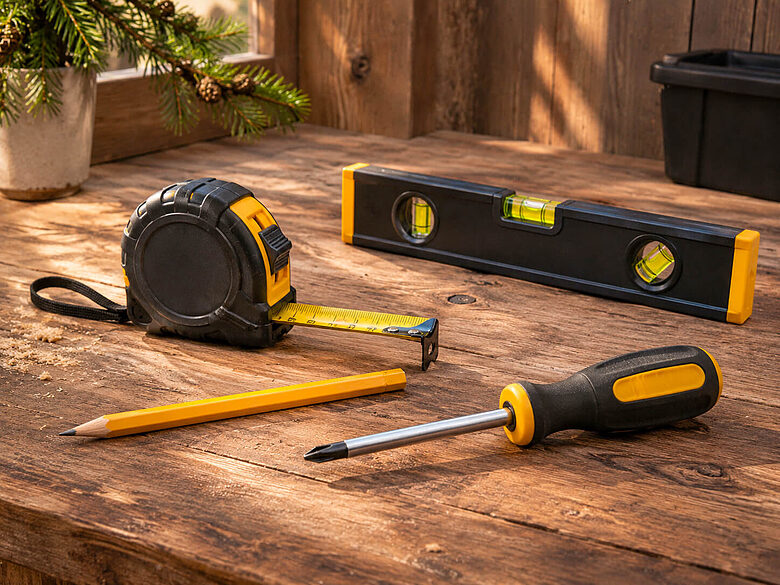
A few basic tools are all you need for a quick and easy installation. Have a measuring tape, spirit level, pencil and a screwdriver ready before you begin.

Ski Wall Mounts
All-Mountain (<110mm) or Powder (<130mm)
Find the right height

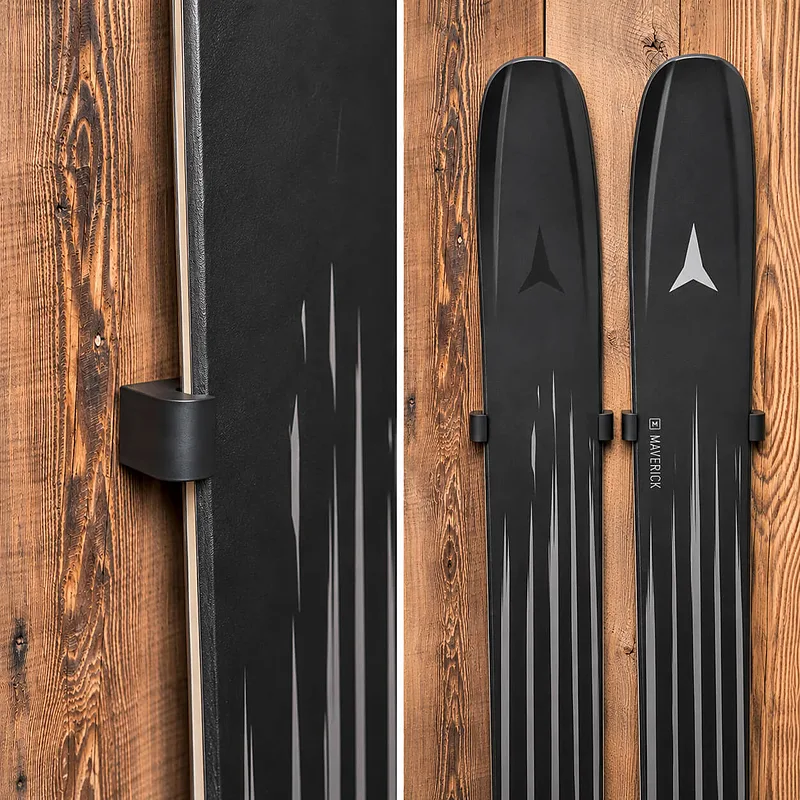
Before drilling, place your skis into the mounts to see how deeply the ski tips sit inside and choose the ideal height.
Measure and mark

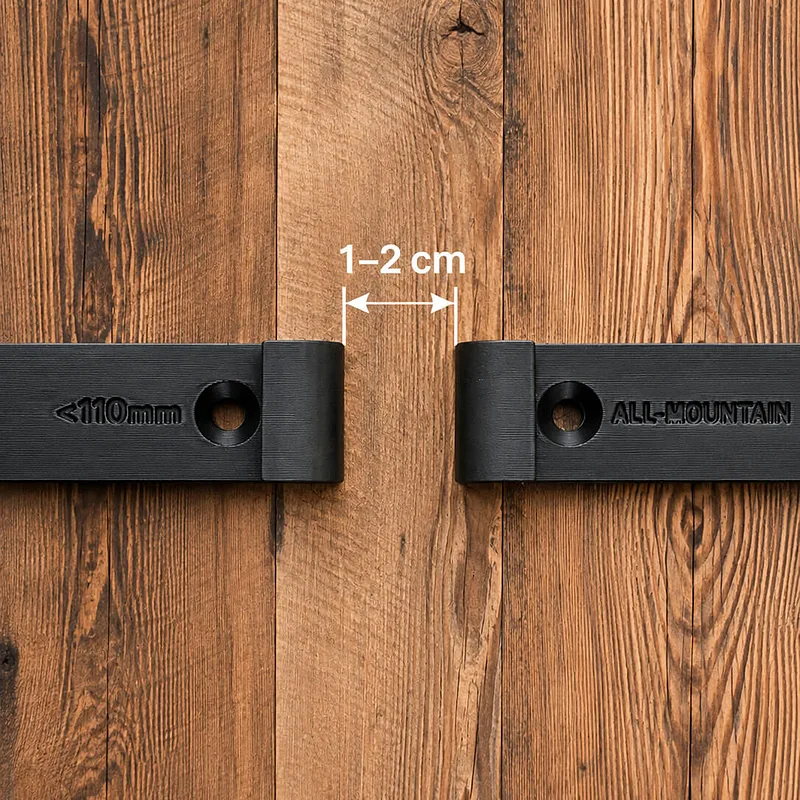
Position both mounts at tge same height, leaving a 1-2 cm gap between them (outer edges). Use a spirit level and mark the screw holes.
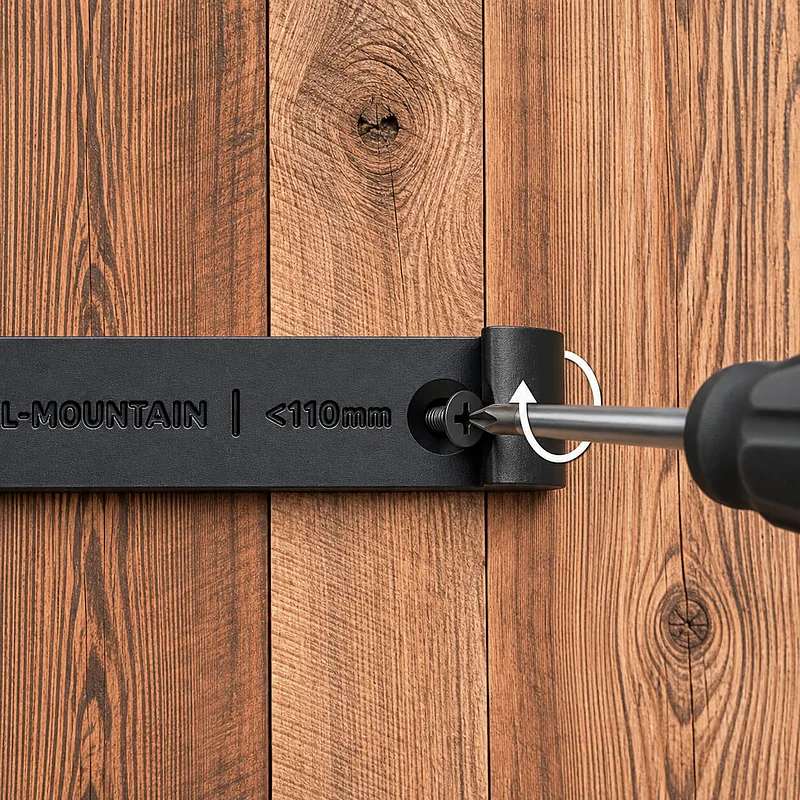
Secure the mounts

Attach each mount using two screws. Tighten firmly, but do not overtighten - excessive force may damage the material.
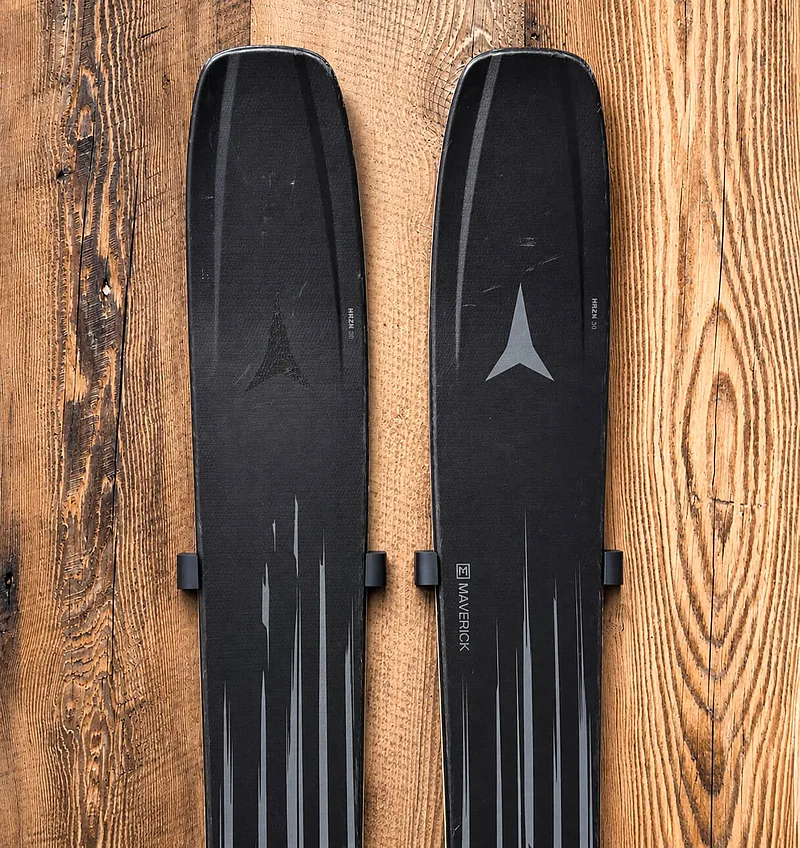
Display your skis

Place your skis into the mounts and make sure they sit securely.